Soo... week 1 - wax landscapes
And for interested parties, this is my studio setup. Theres some info on the details under the picture (if you click through it) :)
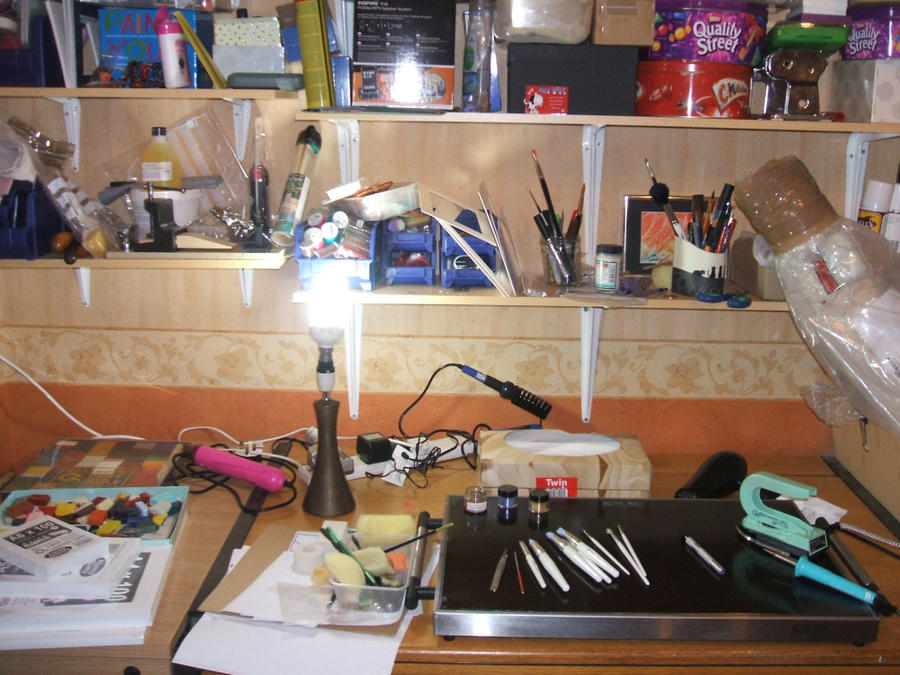
More pictures of my setup for wax in my Scrapbook
So why not just leave it...? Because I know what CAN be done with that damn iron and I'm not going to be foiled by a flat block of hot steel. Not yet anyway. If you want to take a look at the possibilities, take a look - HERE
So I started out with a supply of A6 cards for practise. Looks like I'm gonna need them...
ATTEMPT 1
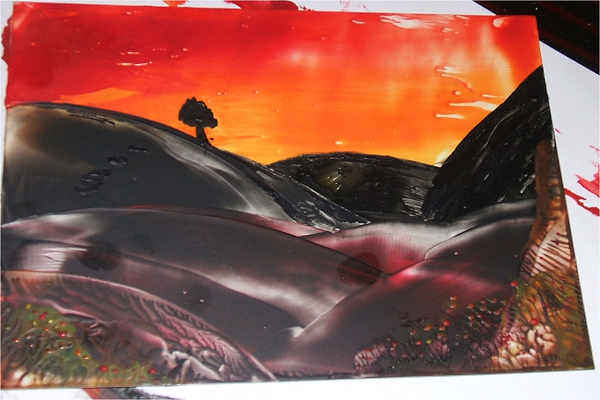
Firstly, ignore the fingerprints. Encaustic art needs polishing after making at which point they go :) and I haven't done it yet as this is essentially a WIP post.
Attempt one convinced me to never use black wax in this way. It just gets in the way and makes it difficult to work over the top (most of my waxes are transparent). And while every encaustic book on the planet waxes lyrical (excuse the pun) about how easy it is to do-over a picture you don't like - what IS near impossible is to do over PARTS pf a picture. So I like my sky and my foreground foliage but hate my hills. Tough, either get rid of the lot or keep the lot pretty much. I didn't like the first attempt although later I'll fire up the hotplate and try passively smoothing it (wax paper is totally non porous - so ACTIVE smoothing just tends to push the wax off areas of the paper).
ATTEMPT 2
Attempt two was less ambitiously coloured and less awful but still far from acceptable. And also boring. Thats another thing about landscapes ie I don't actually LIKE traditional landscapes much. It's kinda meh... I can see that wandering around outside in full, glorious, 3 dimensional technicolour why would I try and paint an inferior version?
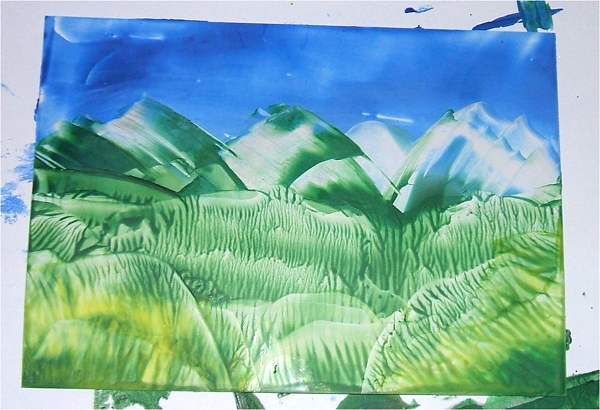
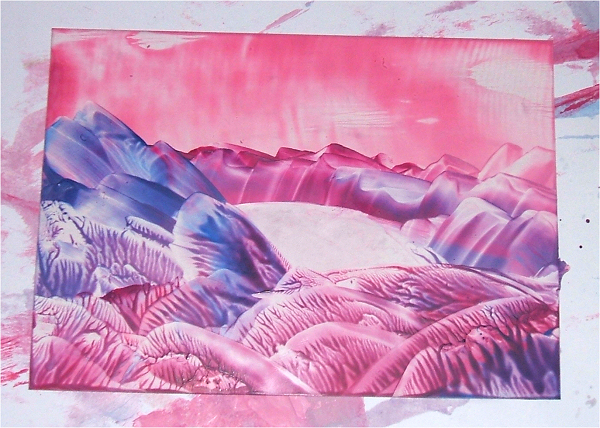
So the answer... go with something I do love. The fantastical. Time to break out the pink and purple paints.
It's all good. I'm learning. 1. Don't landscape in black paint. 2. Paint things you like. And 3. level of heat matters.
ATTEMPT 3

So... attempt 3. I felt marginally more in control. Still not happy but can see some improvement and this one had a better sense of dimension, I thought. More practise in the same vein required
ATTEMPT 4
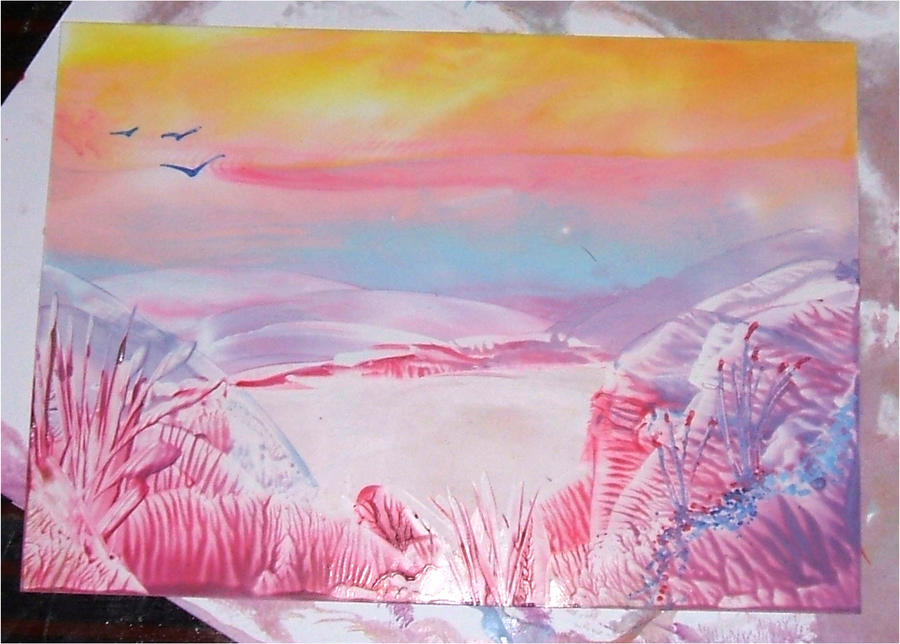
Attempt 4. Now I actually feel like I'm progressing. Its generally much more pleasing and I've added some stylus detail in as well. Not brilliantly executed stylus work but it helps I think. I like the suggestion of being at the bank of a great river. I don't like the bottom right, it looks overworked. In fact looking at it again I'm not keen on the foreground in general. But I like the sky and the lake and the birds.
ATTEMPT 5
Attempt 5. Part of me thinks I'm regressing. This one has better definition and depth than the previous but qually it has less detail and just feels... like a step backwards. However it's 4.22am in the morning, I've been at this for 3 hours and that could just be a sign that I need to sleep.
Tomorrow - another few of tries at iron-only (more or less) landscaping, the addition of castles and if I get to a stage where I'm halfway satisfied, I'll move on to the hotplate.
No comments:
Post a Comment